Balloons
Clip Studio Paint comes with balloon tools that you can use to create speech bubbles with tails. This section explains how to create and edit speech balloons.
Memo | The Balloon tool is not available in Clip Studio Paint DEBUT. |
Creating a balloon
With the Balloon tool, you can create speech balloons as if you were drawing a shape with the Figure tool. You can also draw the outline of balloons with the Balloon pen. The Balloon tail tool allows you to create tails on your balloons.
Drawing a balloon
In the Tool palette, select the Comic tool. From the Tool Group palette, select the Balloon tool group > Ellipse balloon tool.
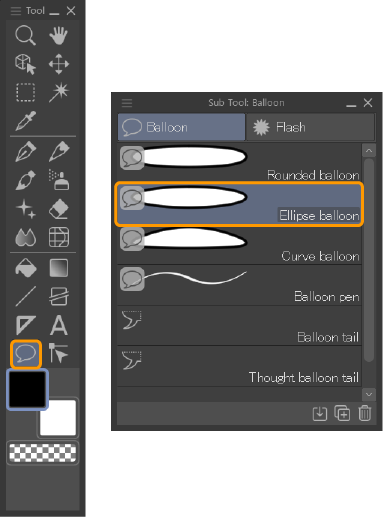
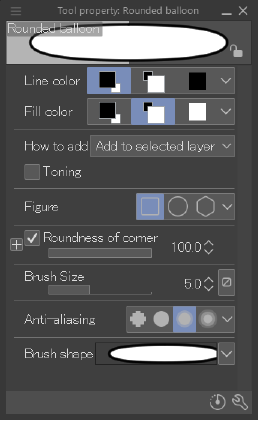
You can adjust settings such as the width of the balloon line, as well as the color of the line and fill, in the Tool Settings palette.
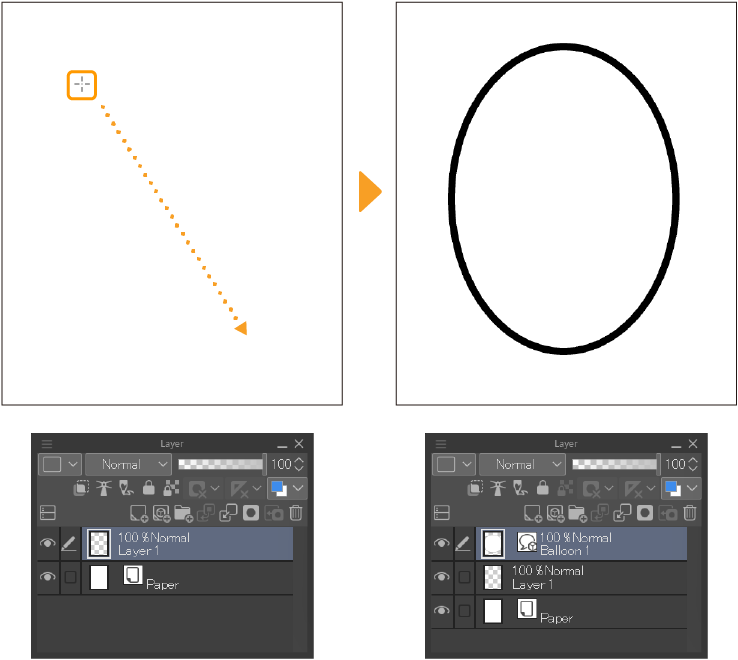
Draw the balloon by dragging on the canvas. When the balloon is drawn, a balloon layer is also added to the Layer palette.
If you already have text on the canvas, you can draw a speech bubble on top of it so that it overlaps and aligns with the text. The text layer will turn into a balloon layer. If you draw a balloon when a balloon layer is already selected, it will be created on the same balloon layer.
You can edit the Balloon tool settings from the Tool Settings palette and the Advanced Tool Settings palette.
Advanced settings for the Balloon tools
You can access more settings from the Tool Settings palette and the Advanced Tool Settings palette. Here you can change how balloons are created and change the shape used to create them.
·For the Ellipse Balloon tool, you can adjust settings from the "Create balloon", "Figure", and "Shape operation" categories.
·For the Curve balloon tool, you can adjust settings from the "Create balloon" and "Continuous curve" categories.
·For the Balloon pen tool, you can adjust settings from the "Create balloon" category.
Other settings are the same as brush tools.
Adding a balloon tail
On the Tool palette, select the Comic tool > Balloon tool group > Balloon tail.
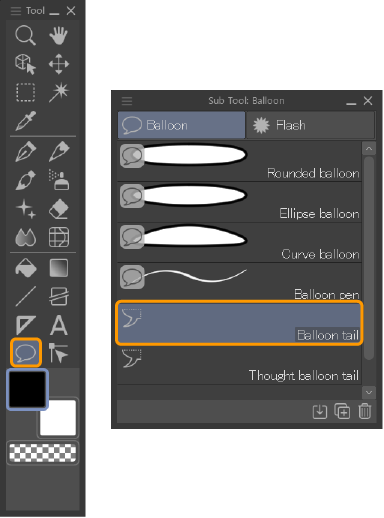
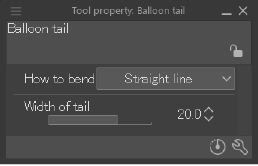
You can adjust the curve and width of balloon tails in the Tool Settings palette using the How to bend and Width of tail settings.
Tap inside the balloon and drag outward to attach a tail to the balloon.
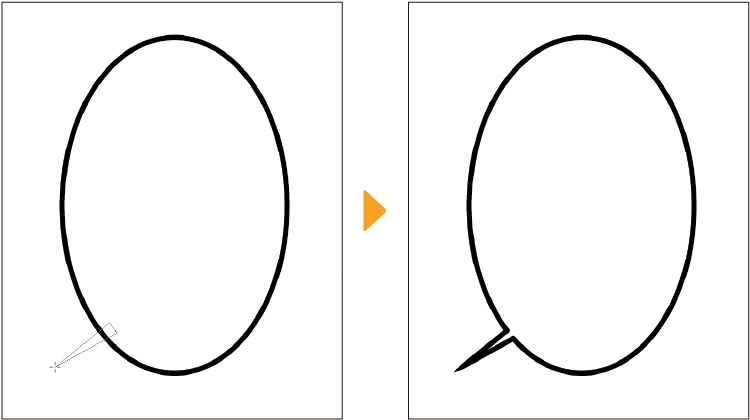
How the tail is drawn depends on the How to bend setting in the Tool Settings palette.
·For details on using polylines, see "Complex lines".
Advanced settings for the Balloon tail tool
You can access more settings from the Tool Settings palette and the Advanced Tool Settings palette. Here you can set the balloon tail type and how they are created.
For the Balloon tail tool, you can set these from the "Balloon tail" and "Correction" categories.
Flash balloons
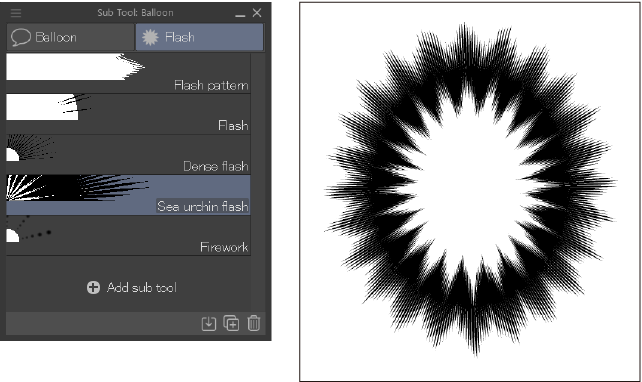
You can create flash effect lines with the Comic tool > Flash tool group on the Tool Group palette. Rather than balloon layers, these tools create focus lines layers. However, the drawing and editing methods are the same as balloons.
For details, see "Creating focus lines".
Using balloon materials
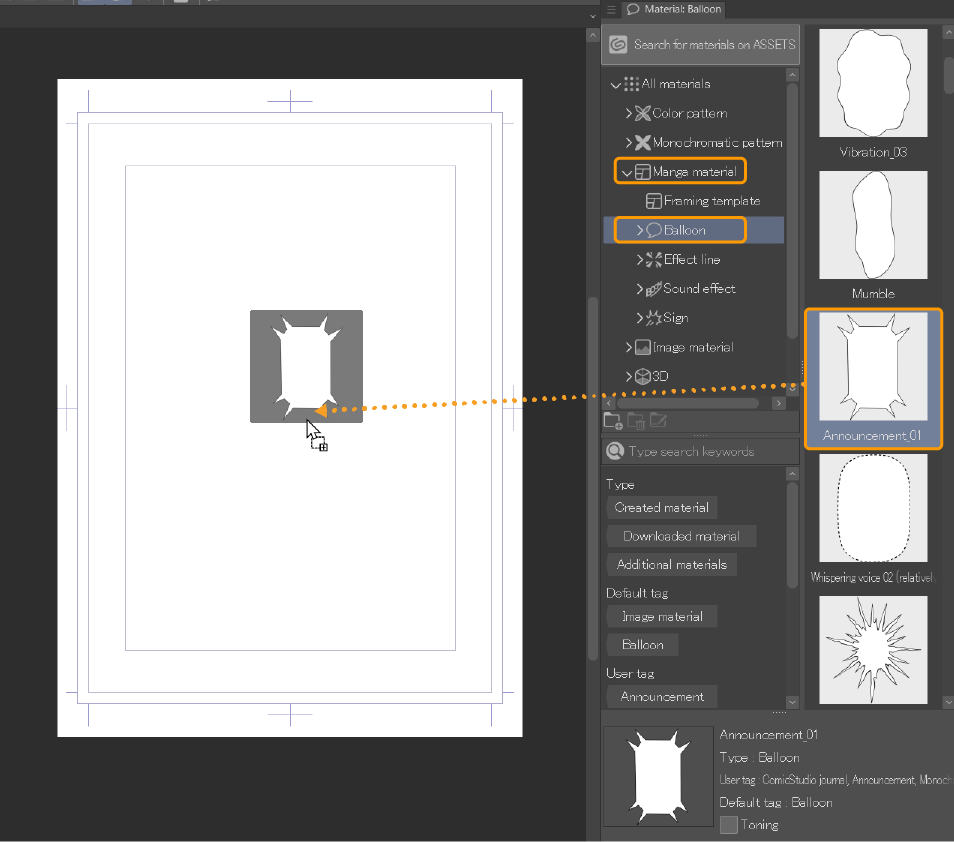
You can find default balloon shapes in the Material palette > Manga materials > Balloon folder. Drag and drop these materials onto the canvas to create a balloon layer on the Layer palette.
Editing balloons
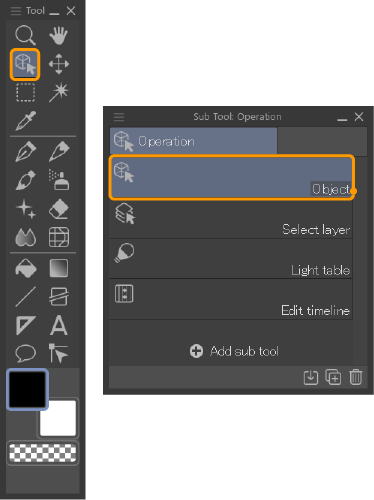
Click on the balloon you want to edit on the canvas using the Operation > Object tool. A bounding box and handles will appear around it and control points will appear on the balloon outline.
Transforming balloons
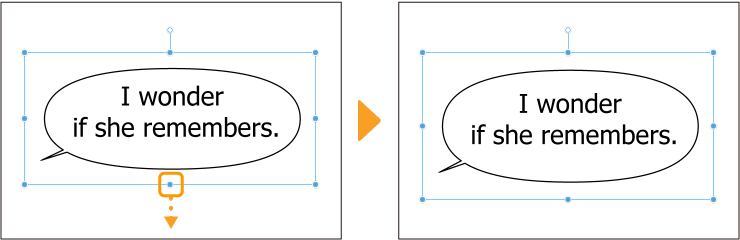
You can drag the balloon handles to change the size and dimensions of the balloon. If text is entered into a balloon, the placement of the text will change, but the font size will not.
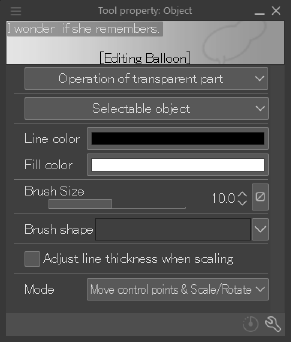
You can also use the Mode setting to change the transformation mode for the balloon. The transformation method changes depending on the mode selected. It is set to Move control points & Scale/Rotate by default. You can scale and rotate using the bounding box and handles and edit using control points.
For more details on each mode, see "Types of transformations".
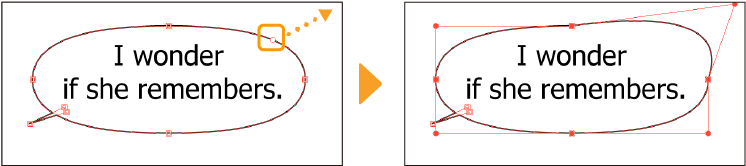
You can drag the control points to transform the outline of the balloon. Editing control points is the same as with vector layers. If control points do not appear, change the Mode in the Tool Settings palette to Move control points & Scale/Rotate.
For more information on editing control points, see "Editing vector lines with the Object tool".
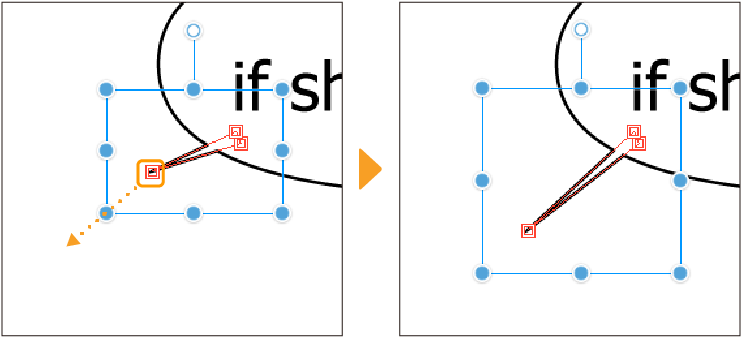
You can transform tails by clicking inside of the balloon tail. This displays only the bounding box, handles, and control points for the tail, which you can then adjust. The transformation method is the same as for balloons.
Moving balloons
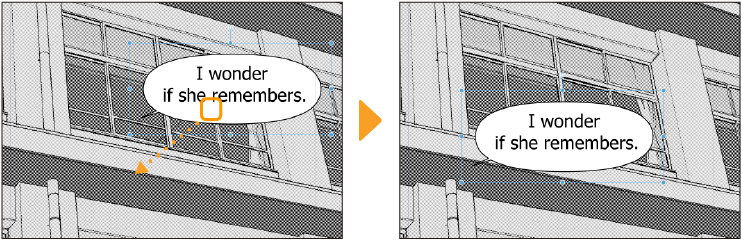
Hold and drag inside a balloon to move it. If you hold Shift while dragging, the balloon will move horizontally, vertically, or along a 45-degree diagonal angle.
Combining balloons
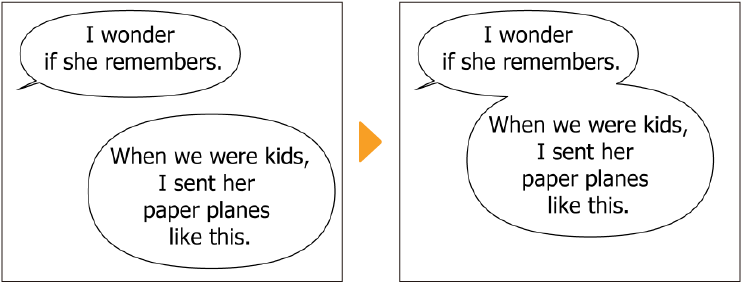
Balloons on the same balloon layer can be combined by placing them on top of each other.
Rotating balloons
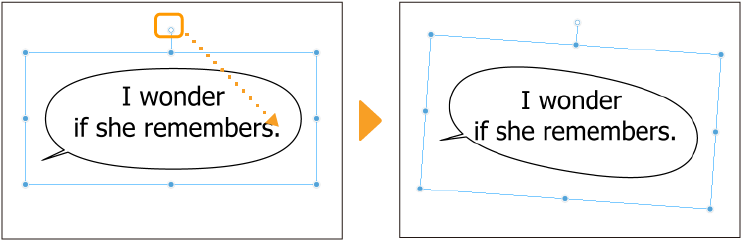
Dragging the rotation handle allows you to rotate the balloon. If you hold down Shift while dragging it will rotate in increments of 45 degrees.
Changing the color and line thickness of a balloon
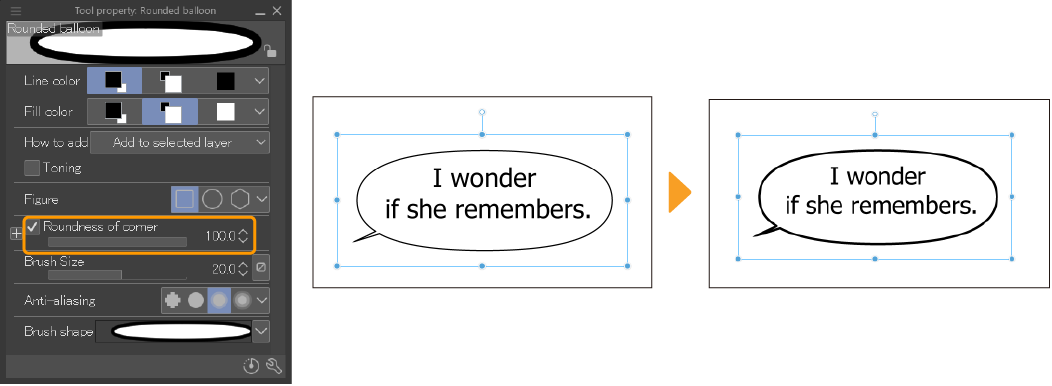
You can change the thickness and color of a balloon line from the Tool Settings palette.
Changing the thickness of a balloon outline
You can set the comic frame line’s thickness with Brush Size in the Tool Settings palette.
Changing the color of a balloon
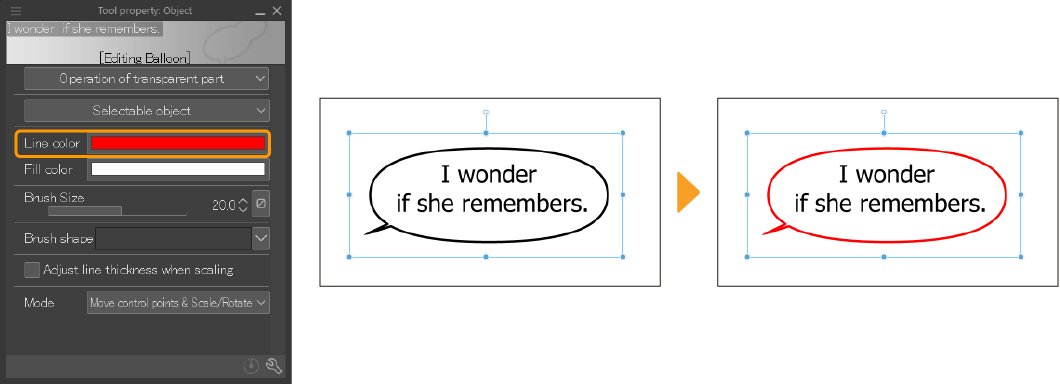
You can adjust the line and fill color of a balloon in the Tool Settings palette by tapping the color icons next to Line color and Fill color. If the color of the balloon does not change, you can set the Expression color of the layer to the color you want the balloon to be.
Advanced settings for balloon editing
When a balloon layer is selected you can access more settings from the Tool Settings and the Advanced Tool Settings palettes under the "Create balloon", "Figure", and "Shape operation" categories.
Other settings are the same as brush tools.