Using the ruler bar and grid
You can use add ruler bar and grid to your canvas to act as guidelines while you draw.
Ruler bar
The ruler bar appears by default when a canvas window is open, around the top and left of the canvas. To hide or show the ruler bar, select View > Ruler bar.
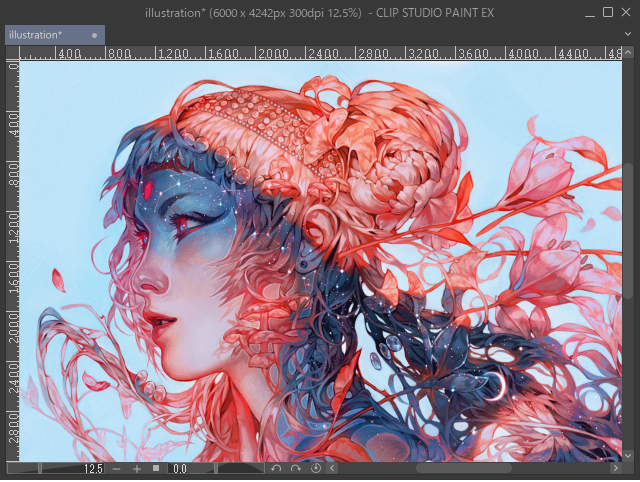
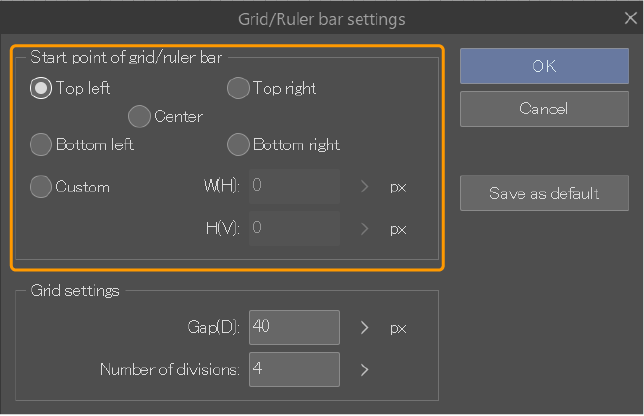
By default, 0 starts at the top left of the canvas, and the ruler unit is mm. You can change the start position using View > Grid/Ruler Bar Settings. Tap Save as default to save your settings for the next time you use the ruler bar.
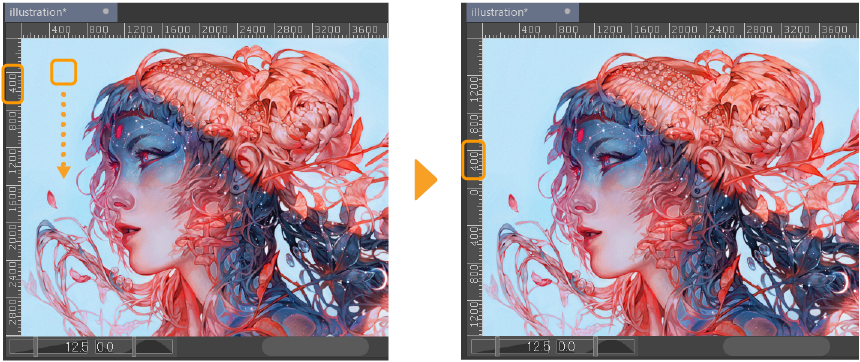
You can also adjust the canvas ruler using the "Move layer" > Move grid sub tool. While the Move grid tool is active, drag along the canvas in the direction you want to move the ruler.
Grid
You can create a quick grid using View > Grid. To turn off the grid, simply uncheck the option again.
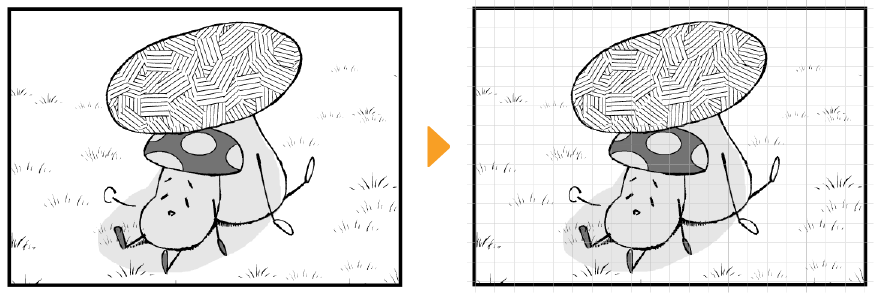
By default, the grid starts at the top left of the canvas, and the grid size is 10.00 mm with 4 divisions. You can change the start position and the grid size using View > Grid/Ruler Bar Settings.

Tap Save as default to save your settings for the next time you use the grid.
You can move the grid using the "Move layer" > Move grid sub tool.
Snapping to the grid
When the grid is visible, you can draw while snapping to it. This is useful when you want to draw something at even intervals.
To turn on snapping, use the View menu > Snap > Snap to grid.
If a perspective ruler grid is also visible, you can switch whether or not to snap to the perspective ruler grid. For more information on perspective rulers, see "Perspective Rulers".
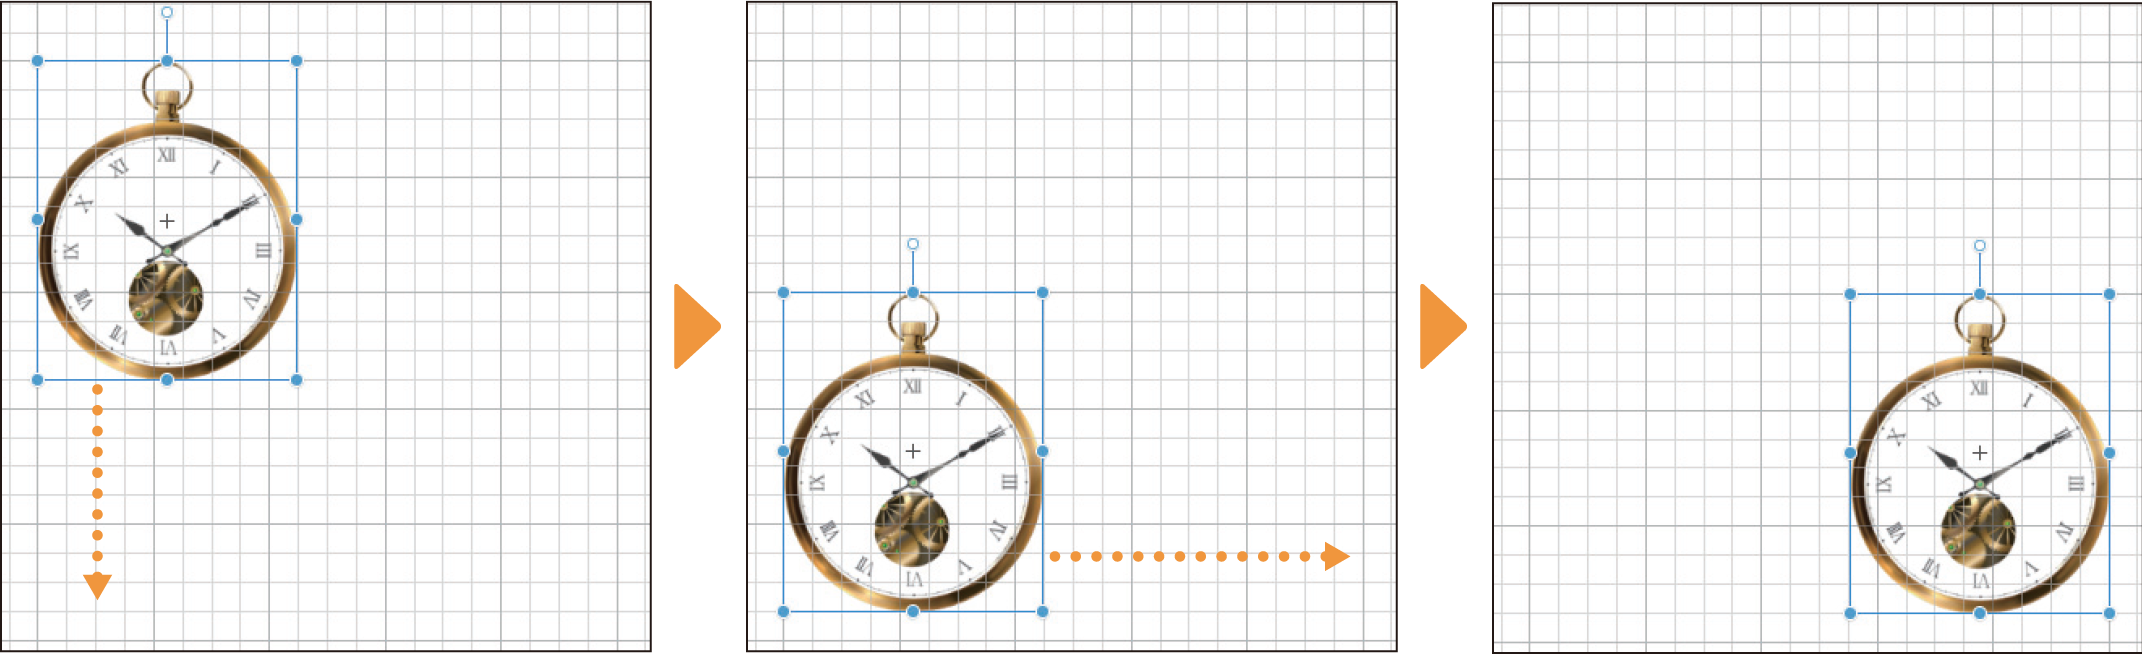
When Snap to grid is turned on at the same time as Snap to objects or Snap to control points, objects and control points will also snap to the intersections of the grid when moved or transformed.
For details on the types of objects that can snap to the grid, see "Objects that can snap".