Creating your own materials
You can create and save your own custom materials in Clip Studio Paint to use later or share with others.
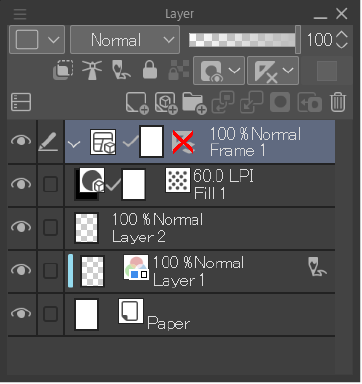
Registering a layer as a material
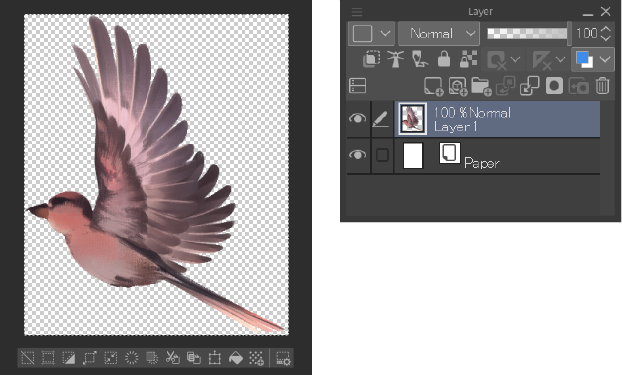
You can register the content of one or more layers as a material. Select the layer you wish to register as a material from the Layer palette and create a selection on the part you want to save as a material. If you do not create a selection, the entire layer will be used.
The type of material will change depending on the selected layer as follows.
·If a single raster layer is selected, it will be registered as an image material layer. You can register raster layer content for creating brush tip images and textures.
·If you select a vector layer, it will be registered as an image material vector layer.
·When multiple layers are selected, they will be registered as image material layers of the same type as the original layer.
·If you select a balloon layer, it will be registered as a balloon material.
·If an image material layer is selected, it will be registered as an image material layer.
When you have a selection, you can register your material in the following ways:
·Select the Edit menu > Register Material > Image.
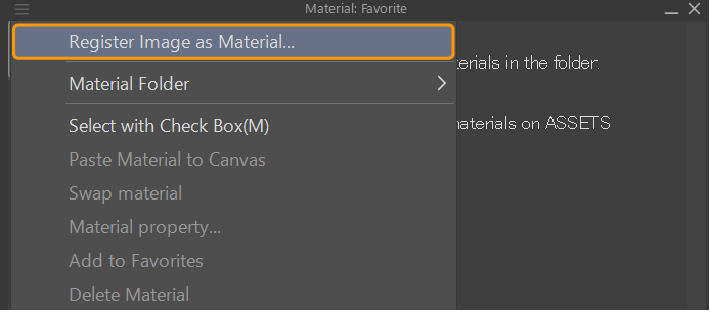
·Select Register Image as Material from the Material palette menu.
When the Material Properties dialog appears, you can change the settings and save location of the material.
When registering a single raster layer, you can also set the Material settings for brush and Paste operation. If you turn on either Scale up/down or Tiling in Paste Operation, you can register the image as an image material layer.
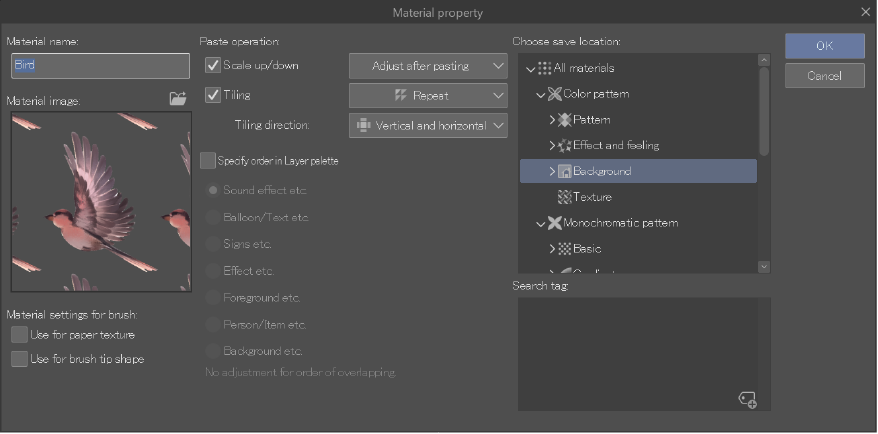
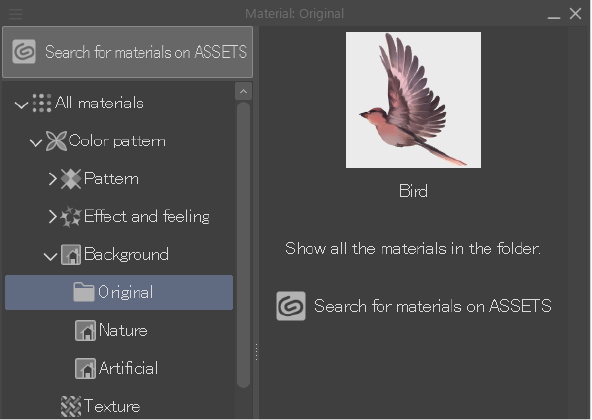
Tap OK to register your image as a material in the Material palette.
Memo | ·To register a vector layer as a vector image material layer that can be used for tiling, etc., convert it to a vector image material layer using the Layer menu > Convert layer before registering it as a material. ·You can also register a layer by dragging and dropping it from the Layer palette to the material list in the Material palette. Double tap a thumbnail in the material list to open the Material Properties dialog, where you can edit the name and tags of the material. |
Creating a template material
You can register layer and layer folders as a template material that you can use for future projects.
First, create the layer structure you wish to register as a template. All layers in the project except the paper layer will be registered in the template material, so delete any layers that you don’t want to include.
If the project contains a frame folder, it will be registered as a frame template material.
To save your template material, use the Edit menu > Register Material > Template. When the Material Properties dialog appears, check the material information and save location, then tap OK. The template material will be registered to the Material palette.
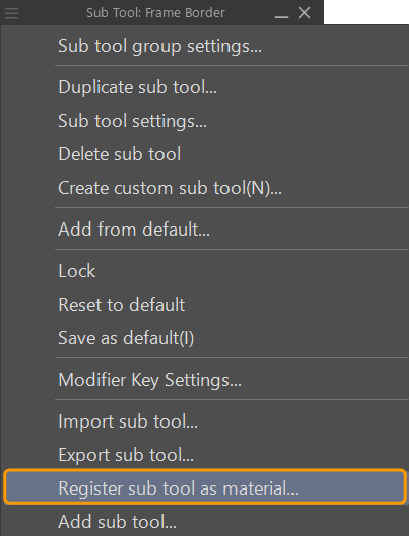
Creating a tool material
You can register a tool as a material, such as a custom brush, in the following ways:
·Select the tool in the Tool Group palette, then use the Tool Group palette menu > Register tool as material.
·Right-click (long-press) the tool you want to save, then tap Register tool as material from the context menu.
When the Material Properties dialog appears, check the material information and save location, then tap OK. The tool material will be registered to the Material palette.
Memo | You can also drag a tool from the Tool Group palette to the material list in the Material palette to register it as a material. Double tap a thumbnail in the material list to open the Material Properties dialog, where you can edit the name and tags of the material. |
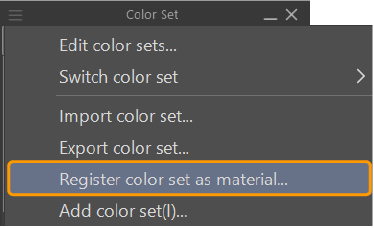
Creating a color set material
You can register a color set as a material by opening it in the Color Set palette, then using the Color Set palette menu > Register color set as material.
When the Material Properties dialog appears, check the material information and save location, then tap OK. The color set material will be registered to the Material palette.
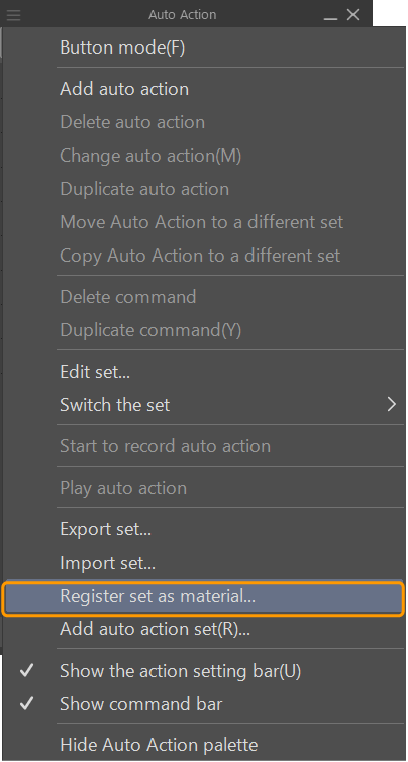
Creating an Auto Action material
You can register an Auto Action set as a material by opening it in the Auto Action palette, then using the Auto Action palette menu > Register set as material.
When the Material Properties dialog appears, check the material information and save location, then tap OK. The Auto Action set material will be registered to the Material palette.
Creating a workspace material
You can register the following settings as a workspace material.
·Palette layout
·Shortcut key settings
·Command bar
·Preferences > Ruler/unit > Unit setting
To register the workspace, use the Window menu > Workspace > Register Workspace as Material. When the Material Properties dialog appears, check the material information and save location, then tap OK. The workspace material will be registered to the Material palette.
Registering an animation material
In a canvas with the timeline enabled, you can register a specific track or clip as an animation material. You can also register keyframe information contained in a clip or track as an animation material.
First, select a track or clip to register as an animation material from the Timeline palette.
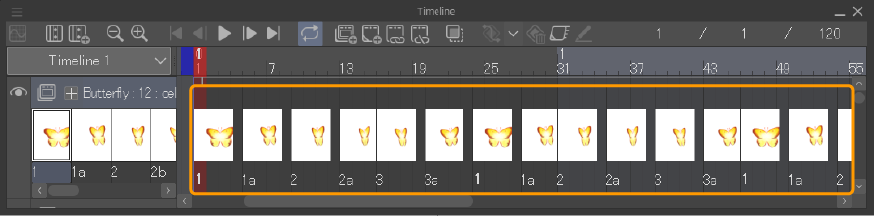
To register the animation material, use the Edit menu > Register Material > Animation. When the Material Properties dialog appears, check the material information and save location, then tap OK. The animation material will be registered to the Material palette.
Memo | When a 2D camera folder is selected, the layers and animation folders in the 2D camera folder will also be registered as an animation material. |
Registering 3D materials
You can register several types of materials from a 3D layer. However, you cannot register 3D characters as materials in Clip Studio Paint.
Memo | You can import 3D materials to Clip Studio Modeler and register them to the Material palette of Clip Studio Paint. For details, please refer to the Clip Studio Modeler Reference Guide. |
Pose materials
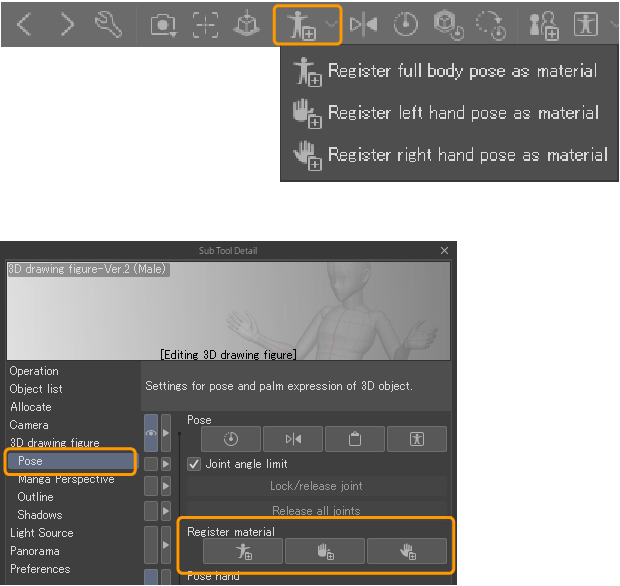
You can register pose materials from the Object Launcher or the Advanced Tool Settings palette. First, select the 3D model with the pose you want to register using the Object tool, then register the material in one of the following ways:
·Tap the Register full body pose as material icon on the Object Launcher. You can also use the dropdown box to register only the left or right hand poses as pose materials.
·In the Advanced Tool Settings palette, go to the Pose category and tap Register Material. You can choose to register only the left or right hand poses as pose materials.
Memo | Hand pose materials can later be applied to either hand, regardless of whether they were originally saved from the left or right hand. |
When the Material Properties dialog appears, check the material information and save location, then tap OK. The pose material will be registered to the Material palette.
Body shape materials
You can register a customized body shape as a material to use later. First, select the 3D model with the body shape you want to register using the Object tool, then register the material in one of the following ways:
·Tap the Register body shape as material icon on the Object Launcher.
·In the Advanced Tool Settings palette, go to the Body shape category and tap Register Material.

When the Material Properties dialog appears, check the material information and save location, then tap OK. The body shape material will be registered to the Material palette.
Head model materials
You can register a customized head model as a material to use later. First, select the head model you want to register using the Object tool, then register the material in one of the following ways:
·Tap the Save the 3D head model to the Material palette icon on the Object Launcher.
·In the Advanced Tool Settings palette, go to the Head model category and tap Register material.

When the Material Properties dialog appears, check the material information and save location, then tap OK. The head model material will be registered to the Material palette.
Hand model materials
You can register a customized hand model as a material to use later. First, select the hand model you want to register using the Object tool, then register the material with these steps:
·In the Advanced Tool Settings palette, go to the Hand model category and tap Register shape as material.
When the Material Properties dialog appears, check the material information and save location, then tap OK. The hand model material will be registered to the Material palette.
3D object materials
You can register a customized object as a material to use later. First, select the 3D object you want to register using the Object tool, then register the material in one of the following ways:
·Tap the Save 3D object to the Material palette icon on the Object Launcher.
·In the Advanced Tool Settings palette, go to the 3D object category and tap Register material.

3D primitive materials
You can register settings of customized primitives such as the shape, color and texture as new materials in the following ways:
·Select the material with the Object tool and tap Save 3D primitive as to the Material palette from the Object Launcher.
·Select the material with the Object tool, then in the Advanced Tool Settings palette > Primitive category, tap Register material.

When the Material Properties dialog appears, check the material information and save location, then tap OK. The primitive material will be registered to the Material palette.
If you want to use the entire 3D layer where 3D primitives are placed as a material, please register the entire layer as a material.
3D image materials
You can register layers with multiple 3D primitives, 3D drawing figures, or 3D head models as 3D image materials.
To do this, select the 3D layer with the Object tool and use the Edit menu > Register material > Image.
3D characters
You can register a 3D character created from an imported VRM file to the Material palette as a 3D character material.
To register a 3D character material, select it with the Object tool and tap the Register character as material icon on the Object Launcher, or tap Register character as material from the Tool Settings or Advanced Tool Settings palette > "Character" category.

Panorama materials
You can register an image you have imported as a panorama as a panorama material. First, select the panorama you want to register with the Object tool, then register the material in one of the following ways:
·Tap the Save panorama to the Material palette icon on the Object Launcher.
·In the Tool Settings or Advanced Tool Settings palette, go to the Panorama category and tap Register Material.

When the Material Properties dialog appears, check the material information and save location, then tap OK. The panorama material will be registered to the Material palette.
Publish materials to Clip Studio Assets
You can publish materials registered in the Material palette from Clip Studio to Clip Studio Assets to share them with other users.
For details on how to publish materials, see the Clip Studio Assets User’s Guide.