Timelapse
You can use Clip Studio Paint to record a timelapse of your project being created on the canvas.
Record timelapse
You can set up timelapse recording when creating your canvas from the New dialog. Timelapses can be set to Prioritize quality or Prioritize file size.

·When set to Prioritize quality, the content will be recorded to prioritize the quality of the timelapse video. As the timelapse data is saved as part of your work file, the longer the timelapse is on, the larger the file size will become.
·When set to Prioritize file size, the content will be recorded while keeping the file size small. The quality of the timelapse video may go down.
·If set to Off, no timelapse will be recorded.
The timelapse data and settings are saved as part of the Clip Studio format file (extension: clip). Save your work and the timelapse recording will start again the next time you open Clip Studio Paint to continue working.
Start recording midway
Select File > Timelapse > Record timelapse to start recording a timelapse. If there is a check mark visible before the Record timelapse menu option, it means that the timelapse is already recording. Timelapses started from the File menu will be set to Prioritize quality by default.
You can also turn on timelapse recording or change the timelapse settings from the Edit menu > Canvas Properties or the Story menu > Change page settings and Change project settings dialogs.
When you enable Record timelapse when adding pages with the Add Page (Advanced) dialog, a timelapse will be recorded for the newly added pages. For other pages in the same project, the existing settings from the New dialog or other relevant dialogs will be carried over.
Delete a timelapse recording
To stop timelapse recording, go to File > Timelapse and uncheck Record timelapse. Unchecking this will delete the entire timelapse log from the canvas.
You can also turn off timelapse recording from the Edit menu > Canvas Properties or the Story menu > Change page settings and Change project settings dialogs.
Important | Deleted timelapse data cannot be recovered. |
Export timelapse
Select File > Timelapse > Export timelapse to export the timelapse video.
Set the size and length of the video from the Export timelapse dialog box. Tap OK to specify the export destination and export the timelapse.
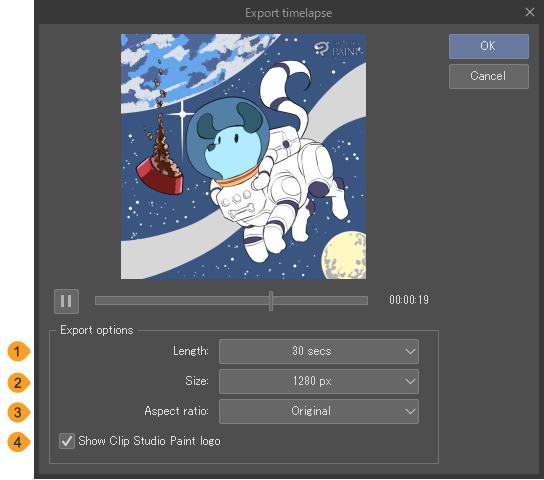
(1)Video length
You can choose 15 secs, 30 secs, 60 secs, or All as the video length.
(2)Video size
You can choose 1280 px, 1080 px, or 720 px for the video size.
(3)Aspect ratio
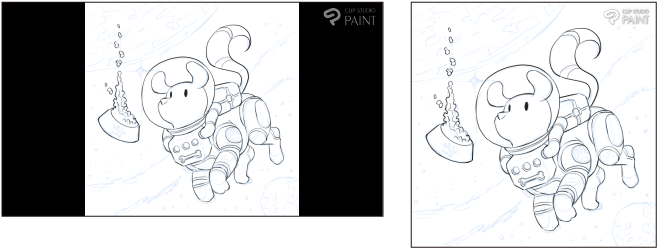
You can choose 16:9, 4:3, 1:1, 4:5, 9:16, or Original for the video aspect ratio. If the aspect ratio selected does not match the canvas aspect ratio, then the blank area will be black.
(4)Show Clip Studio Paint logo
Leave this box on to display the Clip Studio Paint logo in the upper right corner.
(5)Watermark
Check this box to add a watermark to your timelapse.
(6)Noise pattern
Check this box to add a noise pattern to your timelapse.
(7)Watermark settings
Tap Watermark settings to open a dialog where you can upload a watermark file and arrange the opacity and tiling. You can also adjust the strength of the noise pattern. See "Watermark settings"for details.