Print (Windows/macOS)
Select the File menu > Print Settings to open the dialog box for printing.
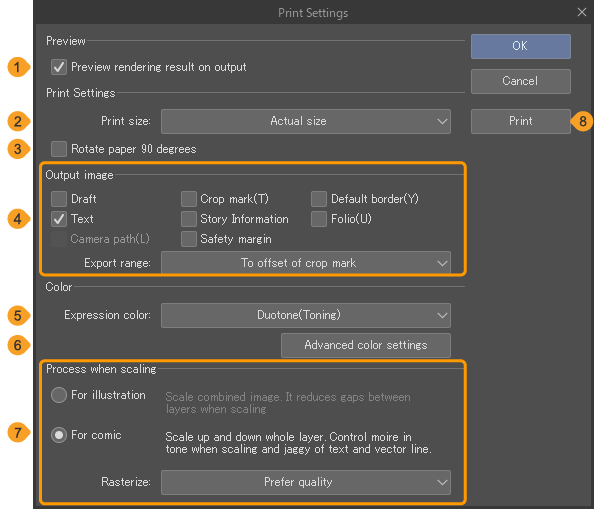
(1)Preview rendering result on output
When turned on, the Print preview dialog box will appear for you to check the content before printing.In EX, the Print preview dialog box will not appear when printing more than one page.
(2)Print settings
Set the size and orientation of the canvas for printing.
Choose Actual size to print in the actual size.Choose Scale according to paper size to change the print size to match the paper size.Choose Pixel size to print the pixels of the image and the pixels of the screen in a one-to-one size.
You can choose Dual page or Spread when printing multiple pages in Clip Studio Paint EX.
Choose Dual page to have two pages printed on one sheet of paper so that it will fold into a bound book.Choose Spread to have two pages printed on one sheet of paper so that they span across two pages when printed.Depending on what was set, the position of the inner margins will change.Dual page will be on the outer side of the paper and Spread will be between pages.
(3)Rotate paper 90 degrees
Prints with the canvas rotated 90 degrees.Use this when the orientation of the printer paper and the orientation of the canvas are different.
(4)Output image
When printing a canvas, you can select whether to include the draft layers, crop marks, inner border, text, story information, folio, camera paths, and safety margins.The checked items will be printed.
(5)Export range
Determine the area of the canvas to print.The available options are: All pages, Crop to bleed marks, and Crop to crop marks.
(6)Expression color
Set the expression color of the image to output.You can select from Auto detect appropriate color depth, Duotone (Threshold), Duotone (Toning), Gray, RGB color and CMYK.
In Clip Studio Paint DEBUT, you cannot select Duotone (Threshold), Duotone (Toning), or CMYK.
(7)Advanced color settings
Tap to open the Advanced color settings dialog box.
(8)Process when scaling
Change how to process the image when scaling.You can select from For illustration and For comic.
When you select For comic, you can choose Rasterize mode.When exporting an image, you can select the quality to Fast or Prefer quality. When reducing an image, we recommend selecting Prefer quality.
(9)Printing
You can save the Print Settings dialog box settings, close it, and then opens the dialog box for Print... to print.
Memo | Output image, Advanced color settings, and Process when scaling are not available in Clip Studio Paint DEBUT.Export range is not available in Clip Studio Paint PRO or DEBUT. |
Select the File menu > Print to open your OS’s dialog for printing.Select the printer and the number of copies to print.With EX, you can specify the page area to print.
Press Print or OK to see the Print preview dialog box.Check the preview on the Print preview dialog box and tap OK to start printing.
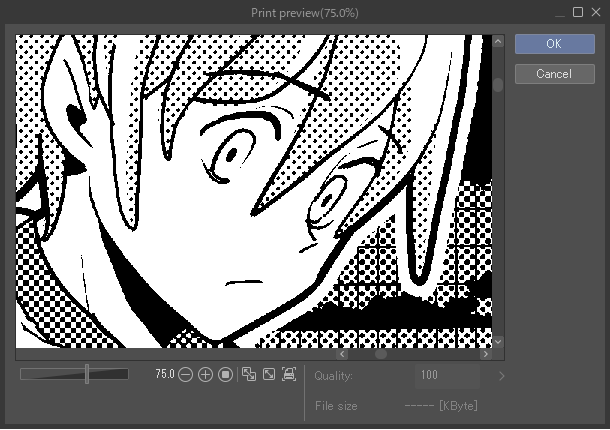
The Print preview dialog box will appear if Preview rendering result on output is turned on in the Print Settings dialog box.Settings and features are same as the Export preview dialog box.
Memo | On macOS, the Print resolution dialog box will appear when you select Print from the Print dialog box.Confirm the print resolution and tap OK to start printing.The Print resolution dialog box references the resolution of the printer connected to the computer.However, you can change these settings if necessary. |